|
LG Voyager/Venus Ringtones and Bitpim...
Using BitPim to install/add ring tones to the LG Voyager and Venus (until native support added it BitPim)
Note: click on any picture to see the "full" image.
Currently, native Venus and Voyager support is being added to BitPim... Until it is complete and you can use BitPim's GUI, the following steps can be used to place ringtones and pictures directly into the phone's file system.
NOTE: The latest verison of bitpim now includes proper Native Voyager/Venus support...You'll need BitPim 1.0.3 (10 Dec 2007) Or NEWER. As such, some of the below steps are NOT needed...
Using USB Drivers...
after installing the USB drivers, rebooting if necessary, and connecting your cable and phone...
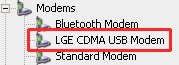
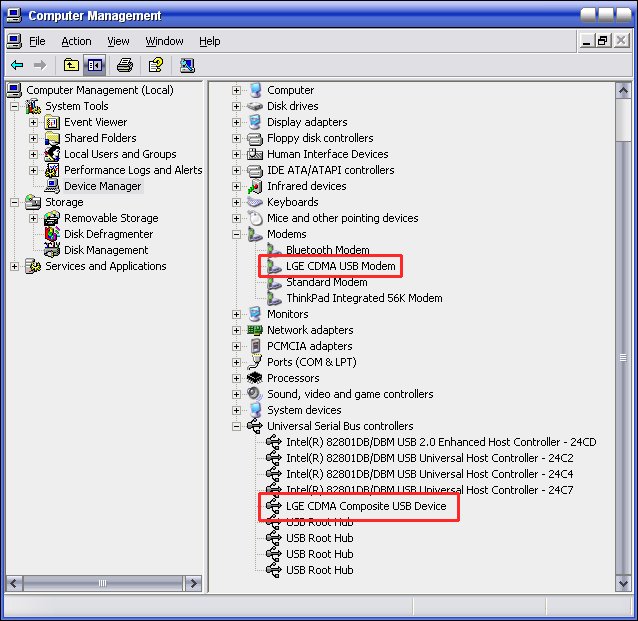
Launch Windows Device Manager (right click on My Computer, from the pop-up select MANAGE). Under Modems, you should see LG CDMA USB Modem
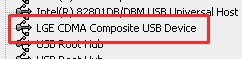
Under USB Controllers you should see LGE CDMA Composite USB Device.
If using Bluetooth instead of USB...
The Voyager and Venus support the Bluetooth Serial Port Profile (SPP). While the connection is not as reliable as USB Cable, it does work with BitPim...
After pairing
the phone and PC, plus discovering available
Services, and creating short cuts in My Bluetooth Places, I did the
following...
Prior to using BitPim via Bluetooth the first time, you must go into "My
Bluetooth Places" on the pc... right click on the icon for the phone's Serial Port Profile ("BT Diag") and from the
pop-up click on CONNECT... the system tray icon will turn green... and a
COM PORT should be reported. You'll need to know that Com Port for the next step...
NOTE: if you are using Bluetooth Serial Port Profile (SPP), having BitPim autodetect your phone will cause the BT SPP to disconnect, and you'll need to manually reconnect it to continue working. As such, its recomended you Manually configure BitPim for your phone using the steps below.
NOTE: If your PC does NOT use Widcomm/Broadcom bluetooth drivers, the process of connecting to the Phone's Bluetooth Serial Port Profile can/will be different.
After your drivers/ports/connection are setup....
Using the AutoDetect Features: If you are using USB cable and using the BitPim 1.0.3 (10 Dec 2007) or newer version, once its installed, lauch BitPim using the Start menu icon for it. Since these version DO have native support for the Voyager and Venus, the phone Autodetect feature will work to find and properly setup the phone. Once completed, skip down to the "Making use of the FileSystem feature..." section on this page...
Manually Configuring BitPim for your Phone: IF you are using an OLDER VERSION OF BITPIM, OR Bluetooth drivers... Since the Voyager and Venus are NOT natively supported in Bitpim, the phone Autodetect feature will fail to find the phone. So you must manually configure it per these next sections... In addition, since Bitpim respects Brew Locks/Limits, we must get the phone into the proper mode. Until the Voyager/Venus is natively supported, we must do a trick...
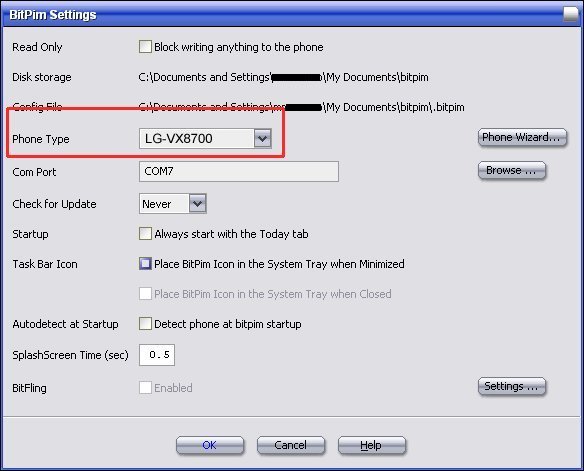
Do this by clicking Settings from the
Edit pull down menu.
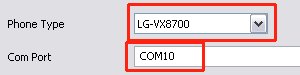
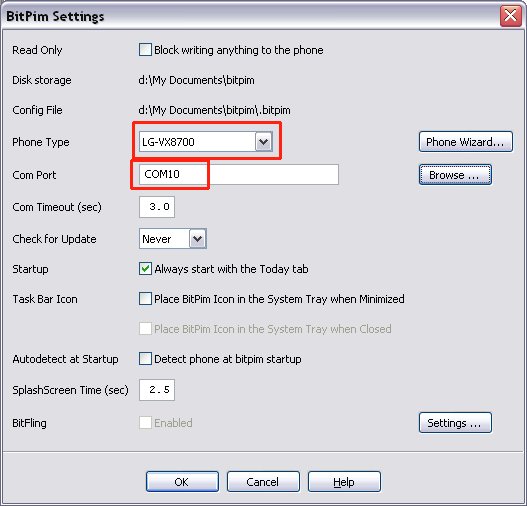
Use the Phone Type Box to select your phone model, if its NOT listed, then select "VX8700"
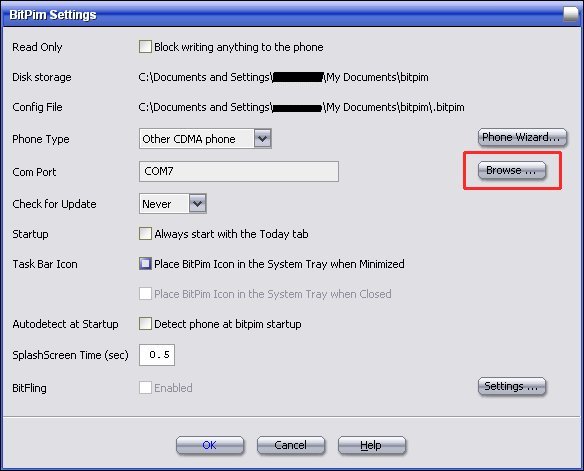
Before -> 
After -> 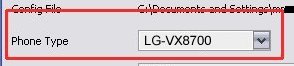
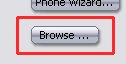
Even if you know
the "com port" DO NOT manually select it. Instead, click the Browse button to the
right of the Com Port box.
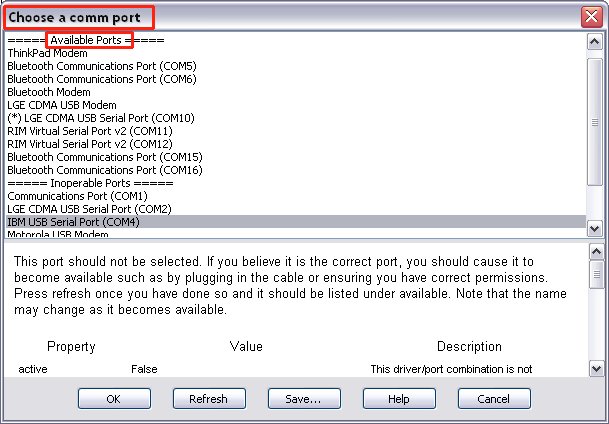
A Choose Com Port window will pop-up. It will have 3
"sections" listing Available Ports, Ports Not Available, and Inoperable Ports.
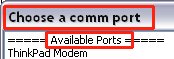
Select "(*) LGE CDMA USB Serial Port (COM x)" from the listing of Available
Ports and Click OK.

NOTE: If you are using Bluetooth Serial Port Profile (BT SPP) connection instead of USB Cable, you wont see "(*) LGE CDMA USB Serial Port (COM x)" instead, you should see and choose "Bluetooth Communications Port (COMx)".
The BitPim settings window show now reflect your phone choice and com port...
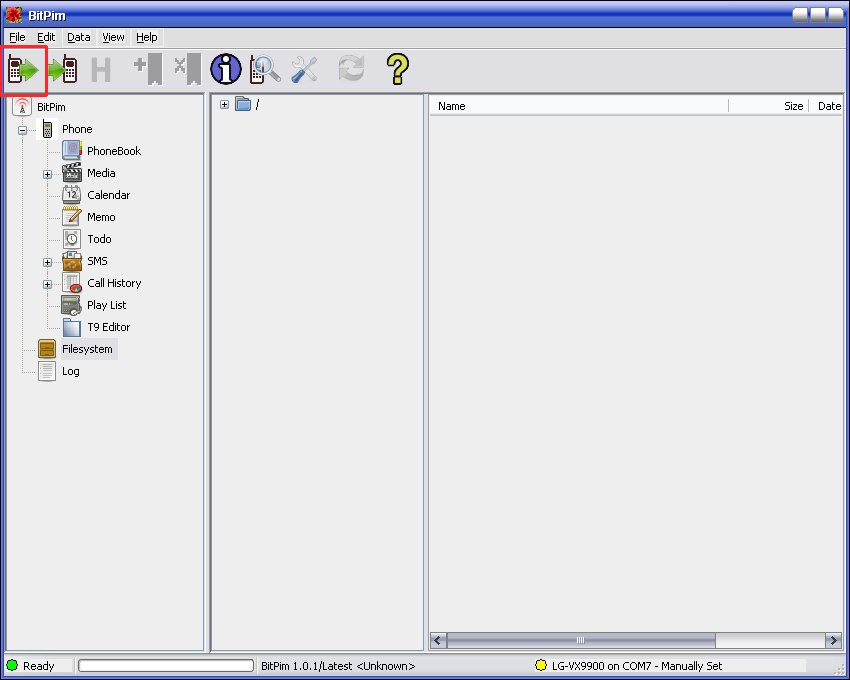
Getting the phone into the right mode so you can access the LOCKED folders....
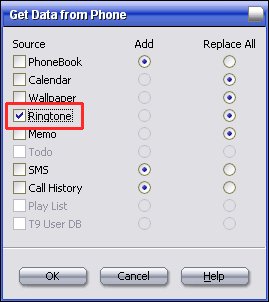
Click the Get Phone Data button 
From the Get Data From Phone pop-up window, check the box for Ring Tones 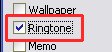
Bitpim will attempt to read the ring tone data from the phone, if you picked an alternate model in the drop down box, it wil Error out, presenting an "EXCEPTION" pop-up window. This is expected. Click on the Continue button to close that window. The phone will be in the proper mode that is REQUIRED for the next steps.
Making use of the File System feature of BitPim...
Note: now that Native Support of the Voyager and Venus has been added to the newer versions of bit pim, you may instead just follow Bitpim's help on using the Get Data, Media section and Send data to use the GUI fuctions/features of adding Ring Tones and Pictures.
NOTE: if you are using the BT SPP connection, please keep any eye on your Bluetooth Connection as it may drop on occasion. If it does, you may have to go back into "my bluetooth places" and reconnect in order for BitPim to continue working.
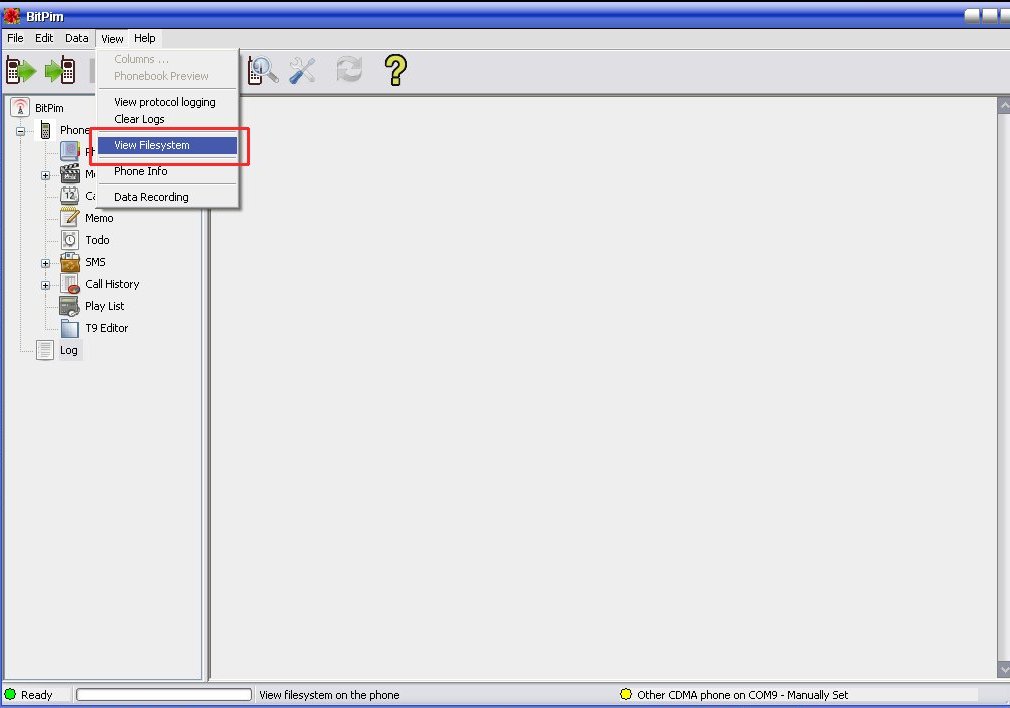
Displaying the FileSystem feature...
Use the VIEW pull down menu and select File System. 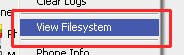
BitPim will now have a
File System icon along the left. Click on it. 
In the center column, Click the + next to the folder to expand the
listing.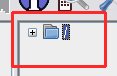
Using BitPim to add Ringtones and Pictures/WallPapers
to the phone via file system tab...
File Locations... Before we discuss how to add... its
important to know the file locations for your phone... See the FILE LOCATIONS PAGE for more information on this.
Adding Wall Papers & RingTones ....
Using the file system tab (as outlined above) Navigate
to the appropriate folder (see the FILE LOCATIONS PAGE) . Right click on that folder..
from the pop-up, select NEW FILE... From the "Select a file" dialog box,
find/select the Audio File on your PC, and click OPEN. (you can also make use of Drag/Drop... drop multiple files on the BitPim window and it will copy them all to the phone). Bitpim will write it
to the phone and you will be back to the normal BitPim screen. Repeat as
necessary to add additional ring tones one at a time.
Power the phone OFF then on... and your newly added files should be available.
Using
BitPim to COPY files from the phone to the PC (via FILE SYSTEM)...
Copy Individual Files.... Using the File System tab in Bitpim (as outlined above), navigate to the
folder which holds the file... Right click on the file. From
the pop-up choose SAVE. From the "Save As..." dialog box, browse to
the folder on the PC you want to save to, adjust the file name (if needed) and
then click SAVE.
Copy Entire Folder.... Using the File System tab in Bitpim (as outlined above), navigate to the folder
which holds the files... Right click on the folder. From the
pop-up choose Backup Directory. Bitpim will read the files in the
directory one at a time and create a ZIP file. From the "Save As..."
dialog box, browse to the folder on the PC you want to save to, adjust the file
name (if needed) and then click SAVE.
Copy Entire Folder
Structure or "Tree".... Using the File System tab in Bitpim (as outlined
above), navigate to the folder which is the top of the directory tree you wish
to backup to your PC... Right click on the folder. From the
pop-up choose Backup Entire Tree. Bitpim will read the files in that
folder and all sub folders one at a time and create a ZIP file. From the
"Save As..." dialog box, browse to the folder on the PC you want to save to,
adjust the file name (if needed) and then click SAVE.
|


